


Install SafetyMails API to check emails on a Landing Page from Leadlovers
The real-time email checking API allows you to create a code for installation on your Landing Pages in Leadlovers, preventing the entry of invalid email leads into your database.
By activating this feature, SafetyMails will generate a ready-to-install code for quick installation on your Landing Pages.
Create a source
Remember that for this API to work, you need to have an activated credit subscription (see how to subscribe).
To start the process, follow these steps:
- Access your account on SafetyMails (If you don’t have an account, create one now and get 100 free credits).
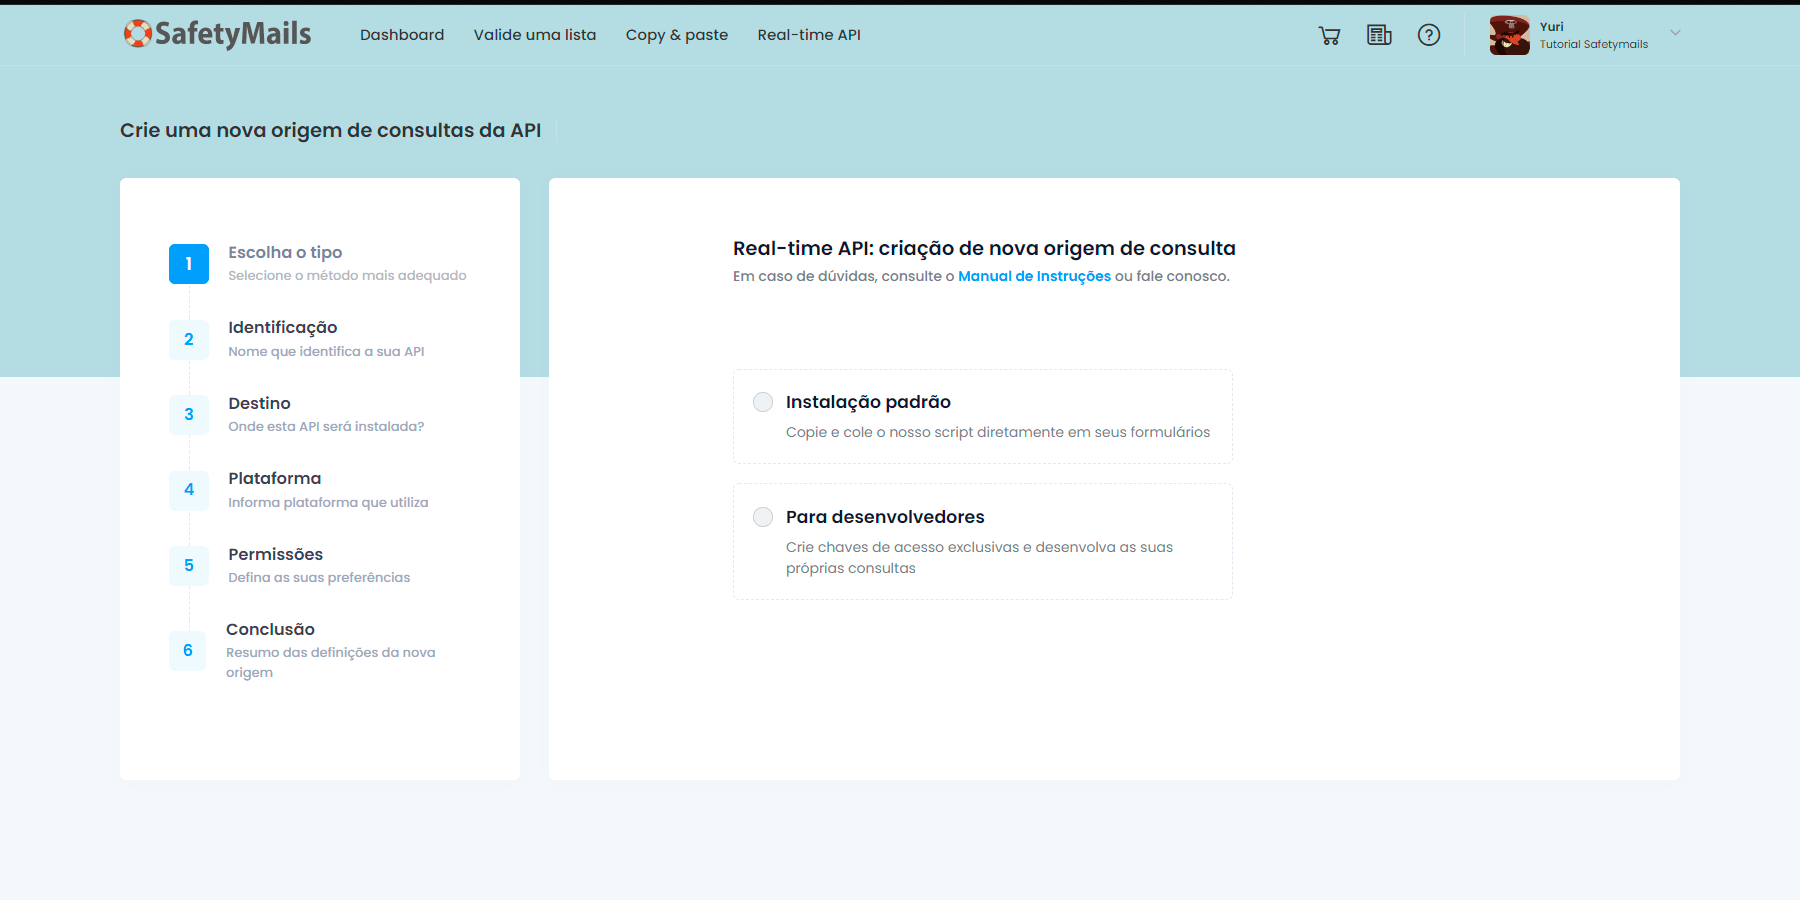
- In the top menu, click on “Real-time API.”
- Select the “Standard Installation” option.
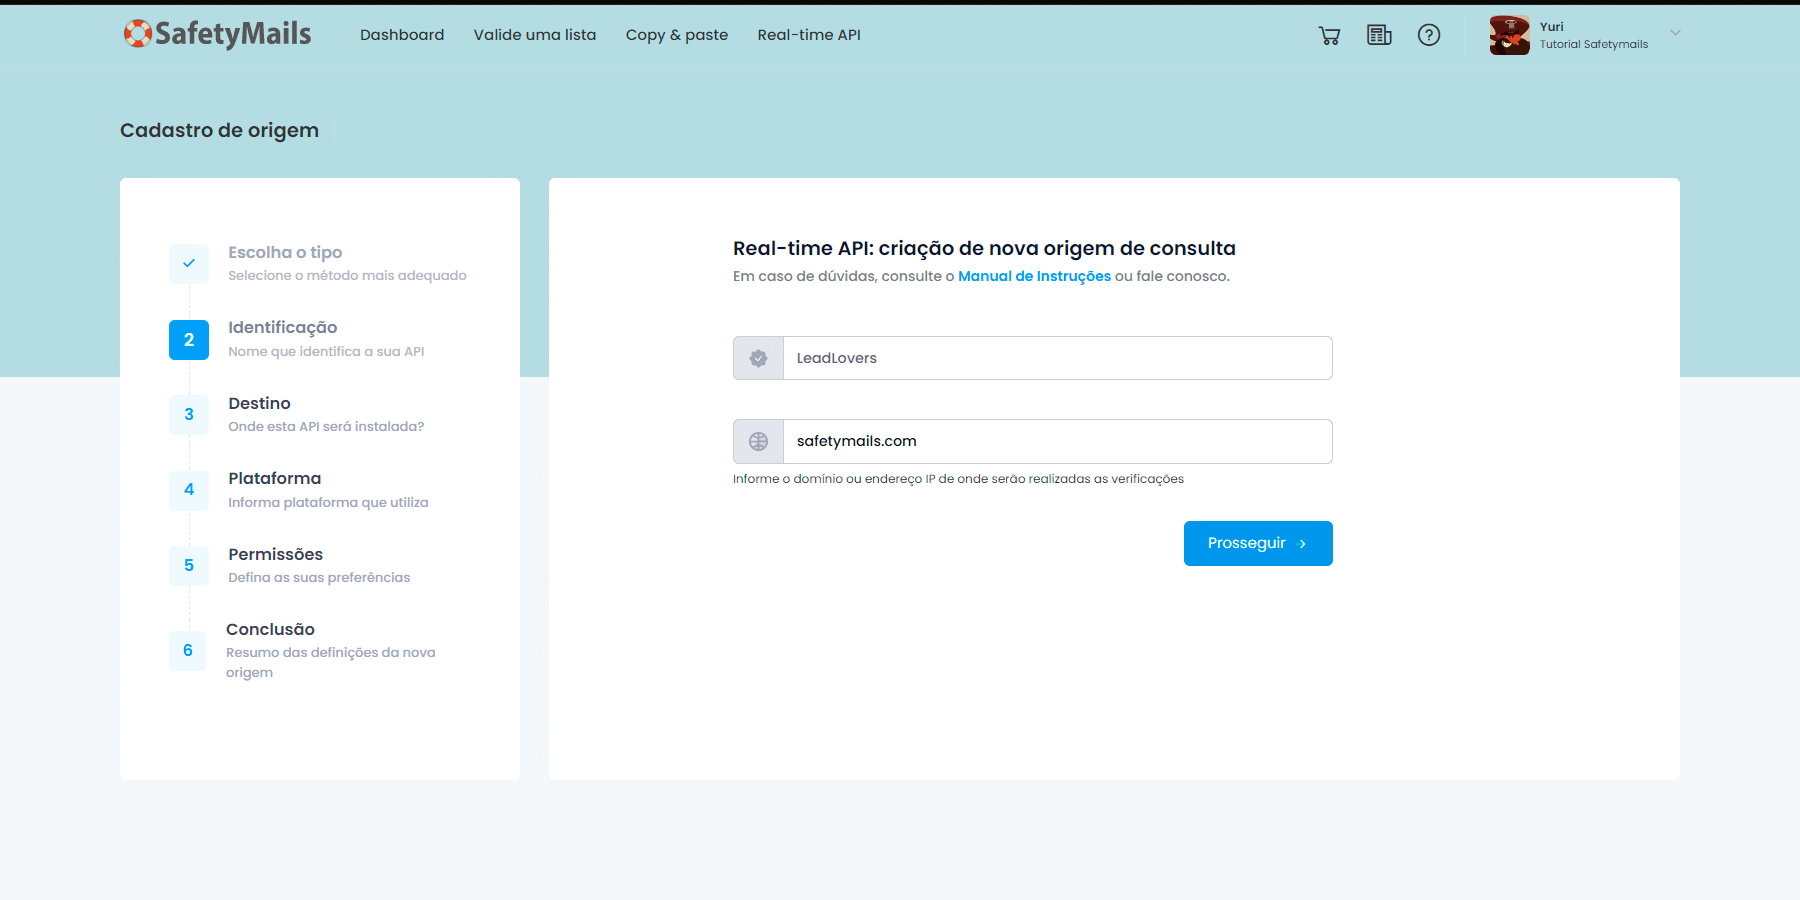
- Na tela seguinte, dê um nome à origem que você está criando;
- Cadastre o domínio do seu formulário (por exemplo, se seu formulário estiver em “https://safetymails.com/form”, você deve inserir apenas “safetymails.com”);
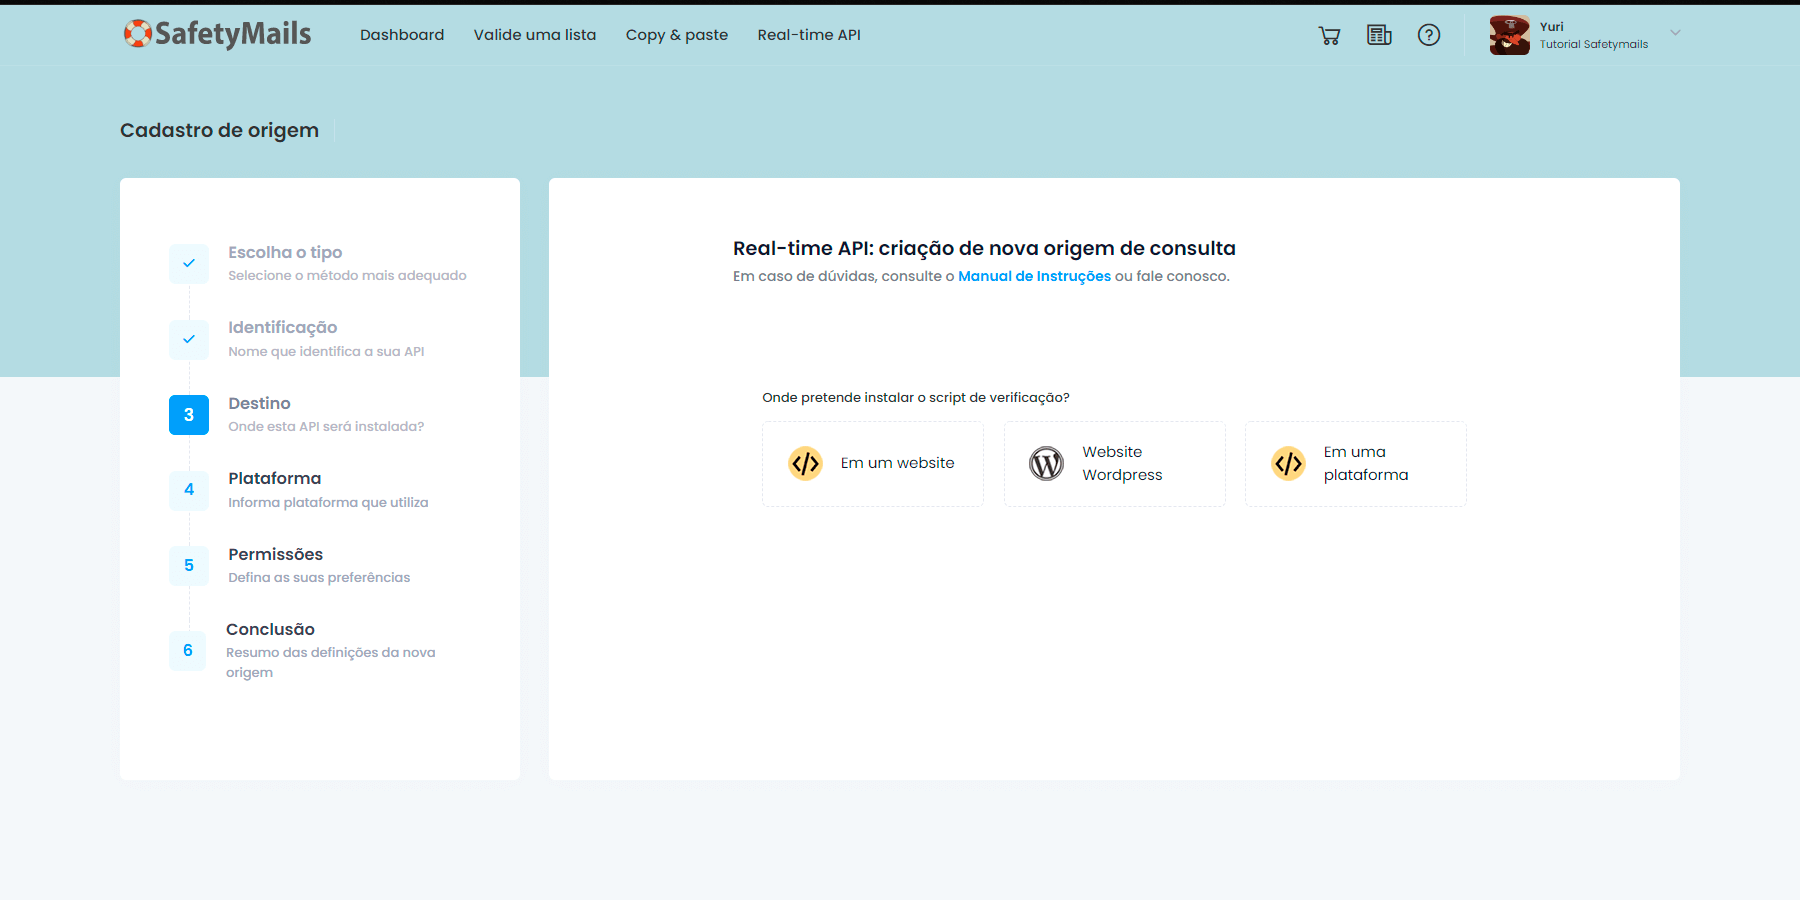
- After that, select the option “On a platform” from the list of options where you intend to use your API.
- Select the Leadlovers platform.
- On the screen that will be displayed, you can configure the permissions for your API for forms, namely:
- Allowed statuses: define which API response statuses will allow registration in the form.
- Block provider domains: enabling this function will prevent the registration of emails with provider domains, such as Gmail.com, Yahoo.com, among others.
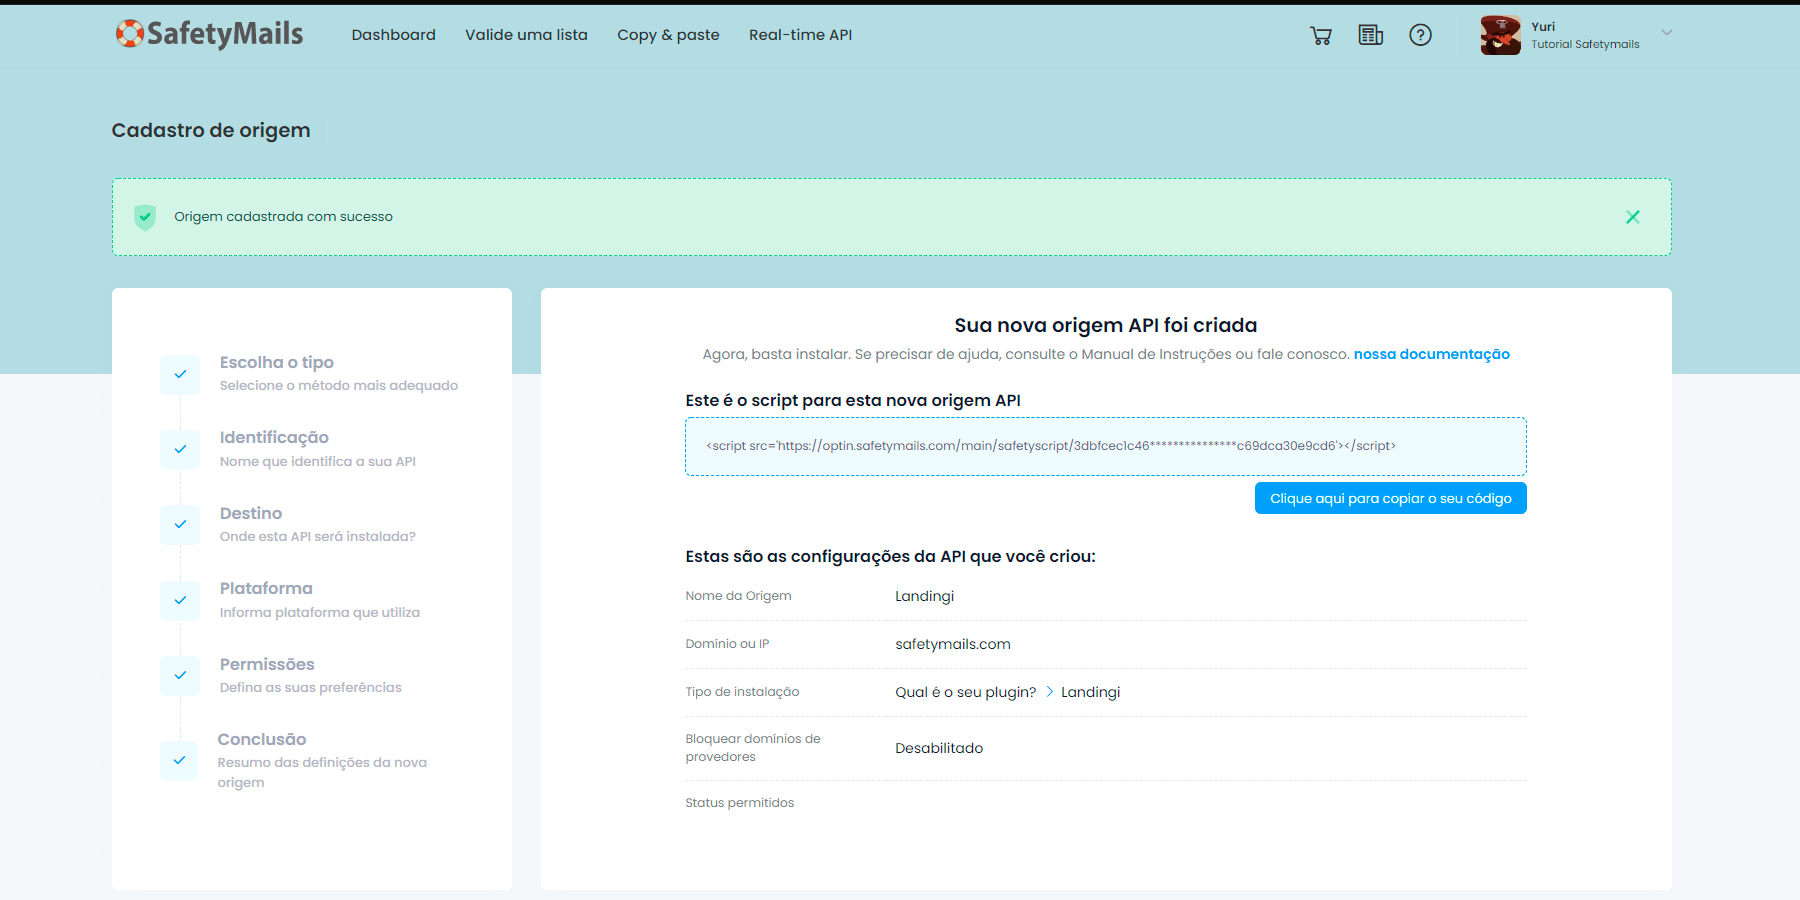
- By clicking “Finish,” the installation script for the API will be generated and available for use.
- The details of the created API will be described on this page.
Example of code
<script src=’https://optin.safetymails.com/main/safetyscript/28a389f6fd52************29fd837e8ee8c280/safetyoptin.js’></script>
In the Leadlovers panel
- Access your account on Leadlovers and click on “Edit on your page.”
- In the side menu, go to the “Advanced Settings” tab.
- Paste the SafetyMails code into the “Additional Scripts (Body)” field.
- Save the process, and the API should work correctly.
If you have any questions, don’t hesitate to reach out to our support team. Contact us via email at [email protected].